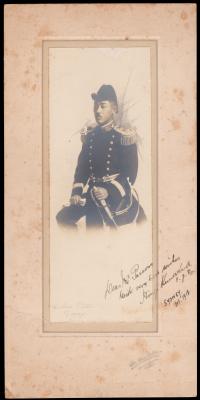
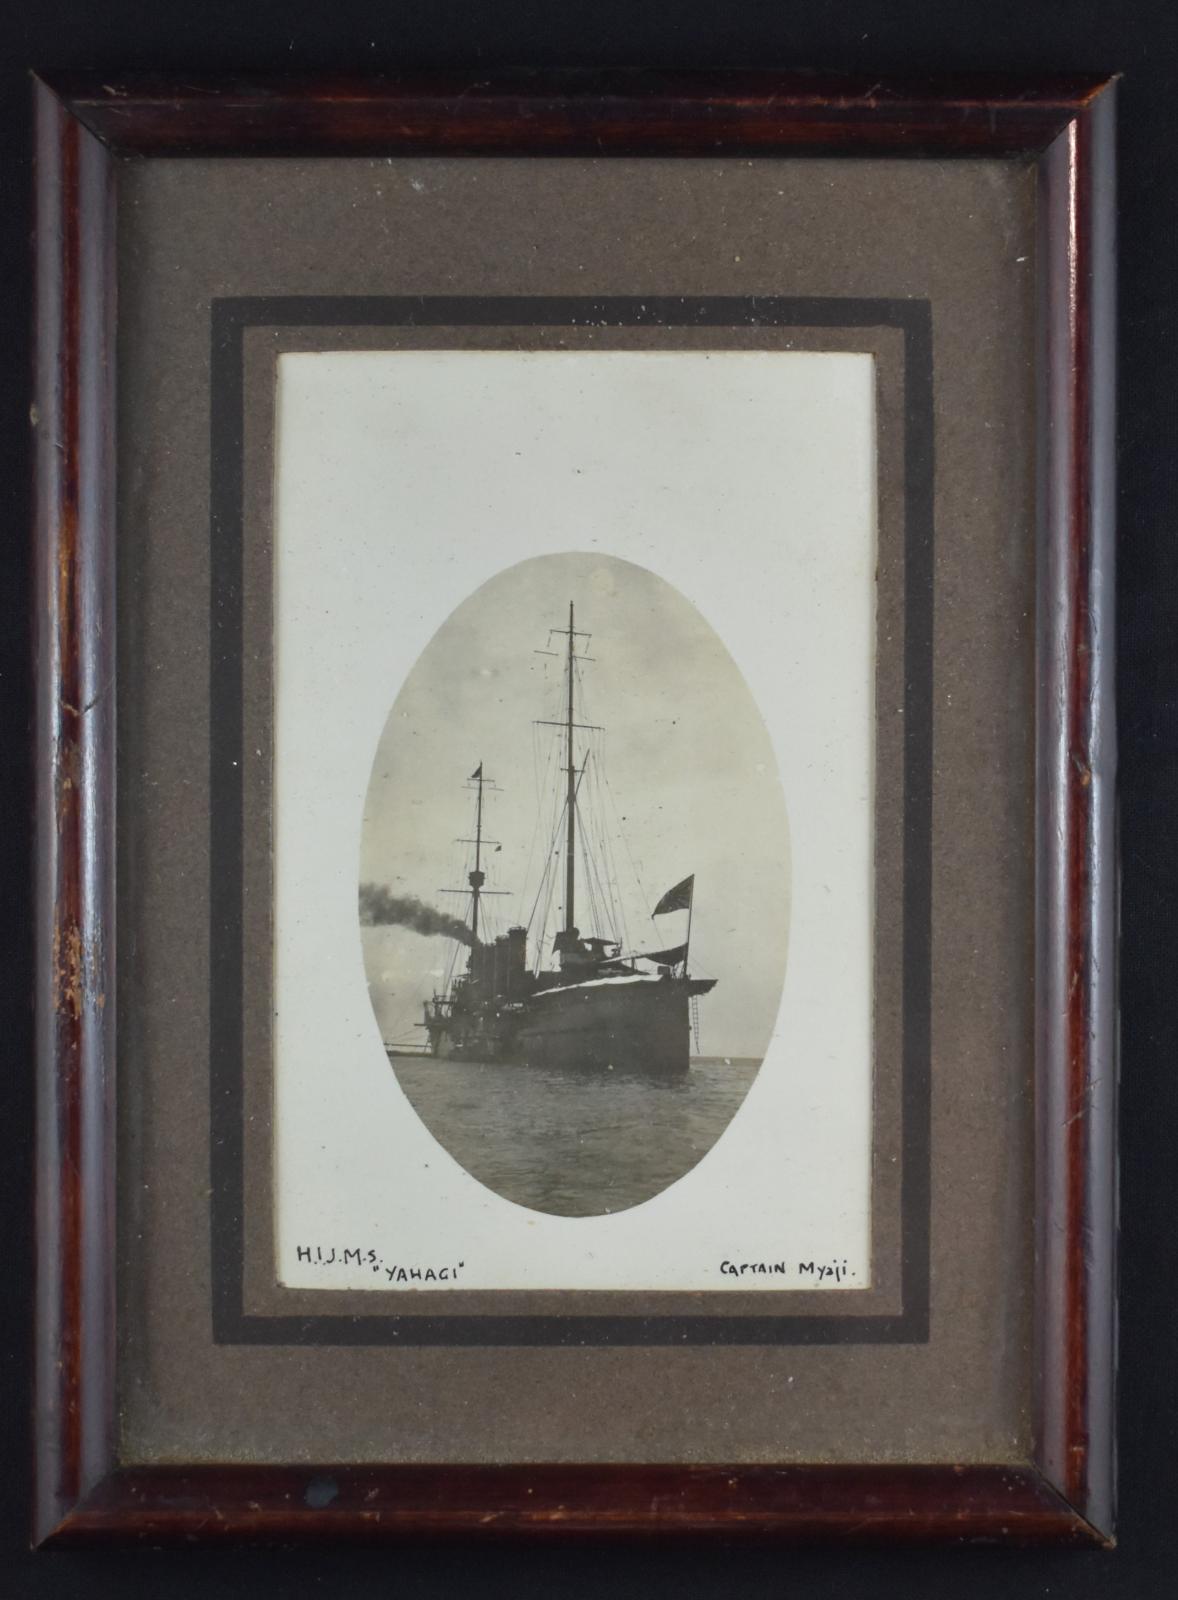
Framed Black and White Photograph of H.I.J.M.S. Yahagi
c. 1917A small oval black and white photograph of H.I.J.M.S. Yahagi taken from the front. The ship has two masts and is flying a small flag at the bow. There is black smoke showing at a rear funnel. The oval photograph is fixed to an oblong off-white surround with writing at both the left and right bottom corners. This is then surrounded by a dark brown mat board (with a darker brown border on the board) and contained with a wooden glass fronted frame. The wood of the frame shows some wear and scratches, but is in good condition. There is a small hole in the top edge of the frame which may have held a hook.
The rear of the frame appears to be a watermarked black board fixed to the wooden frame by small nails (2 at the top, 4 down each side together with 1 larger metal clip and 3 at the bottom). There is also a stand, but this has been nailed shut. The board shows some wear.
The Yahagi was a Chikuma class cruiser that fought in the First World War under the Anglo-Japanese Alliance deployed against the German East Asia. The ship was built by Mitsubishi Heavy Industries in Nagasaki and was commissioned on 27 July 1912. The Yahagi first joined the hunt for the 'Emden' in the Indian Ocean in 1914. Then Hirado and Yahagi with the battleship 'Satsuma' sailed as the Second South Sea Squadron to search the Philippines, Palau Islands and East Indies area, in the hunt for Admiral von Spee’s East Asiatic Squadron.
On 7 February 1917, the I.J.N. First Special Squadron formed with the cruisers Yahagi, Tsushima, Suma and Niitaka. The composite squadron was based at Singapore under Rear Admiral Kozaburo Oguri. By 26 March 1917, the British Admiralty asked to deploy them to Australia and New Zealand, in order to continue the protection of shipping against German raiders. Yahagi and Suma were also deployed in the Indian Ocean in close cooperation with the British China Squadron. Yahagi patrolled the eastern coasts of Australia and New Zealand until October 1917 and was the last ship deployed to defend Australia and New Zealand.
She only went back to Japan, on 21 October 1918. Its crew however was struck with influenza in December 1918 leading to a quarantine at Manila harbour. During her 46 days of immobilization, 300 of her crew were ill and 48 died.
Details
Details
At the bottom right corner of the off-white surround under the photograph is written in black ink “CAPTAIN Myaji”. The bottom left hand corner shows “ H.I.J.M.S. “YAHAGI” “
Open in Google Maps
Nearest geotagged records:
- Invalid Cup (0km away)
- Peter LONEY Letter (0km away)
- Ellis SILAS Water Colour Painting (0km away)
- Engraved Japanese Water Bottle belonging to Robert George Staunton RENNIE WX7493 (0km away)
- Enlistment Poster (0km away)
- W. D. & H. O. Wills Lace Flag Cigarette Cards (0km away)
- First world War Picture Postcard (0km away)
- Photograph of the Japanese surrender to Australia on 13 September 1945. (0km away)
- Engraved Tin given to Major Arthur Robinson HOME WX11151 (0km away)
- Martini-Henry action (0km away)
Nearby places: View all geotagged records »
Princess Royal Fortress Military Museum
Princess Royal Fortress Military Museum
More items like this
Other items from Princess Royal Fortress Military Museum
-
Framed Black and White Photograph of HMAS Encounter Officers, November 1918

-
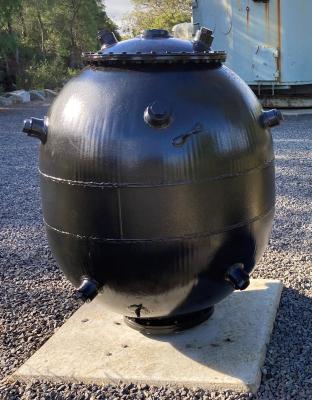
Second World War Mk XVII Contact Sea Mine
-
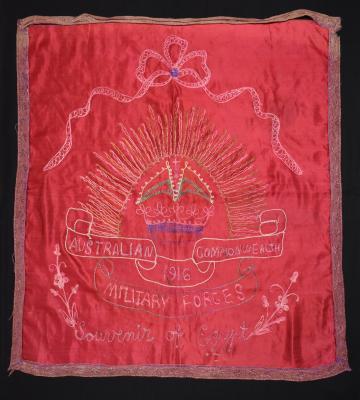
First World War Embroidered Silk Souvenir of Egypt belonging to Lance Corporal Henry RISEBOROUGH 537, 10th LHR
-
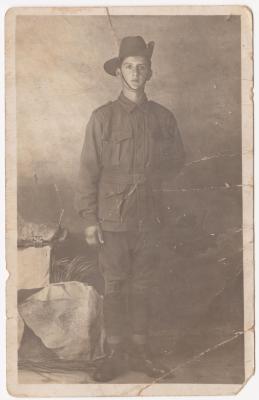
Black and white photographic postcard of Trooper Henry (Harry) RISBOROUGH 537, 10th LHR
-
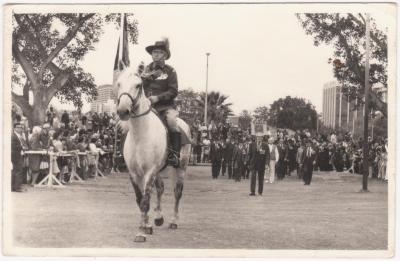
Black and white photo of Henry (Harry) RISEBOROUGH riding a police grey leading the 1975 Perth Anzac Day Parade.
-
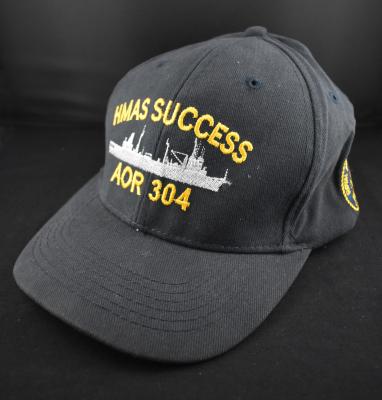
HMAS Success Cap
-
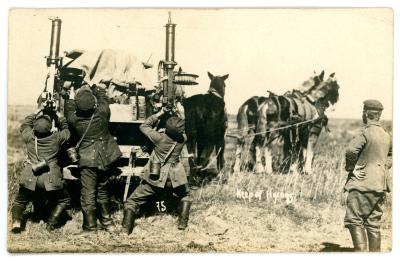
First World War German Photographic Postcard (1 of 27)
-
First World War Black and White German Photographic Postcard
-
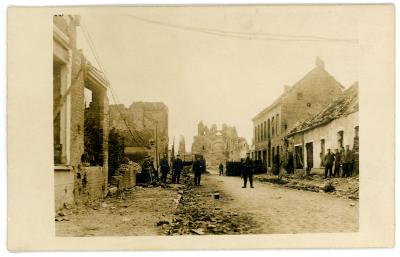
First World War German Photographic Postcard (11 of 27)
-
First World War German Photographic Postcard (12 of 27)
-
First World War German Photographic Postcard (13 of 27)
-
First World War German Photographic Postcard (14 of 27)

Scan this QR code to open this page on your phone ->