World War 1, Australia, Western Australia, 116 LUKIN, 10 Light Horse
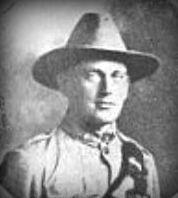
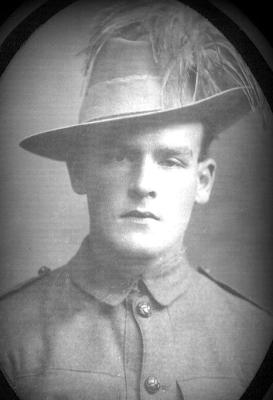
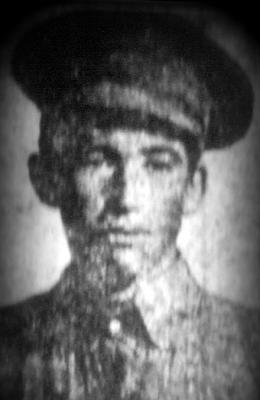
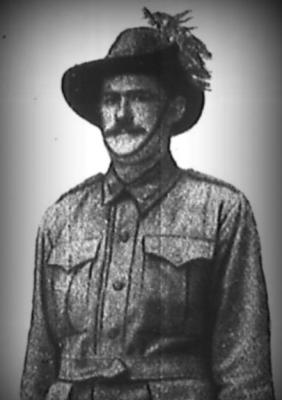
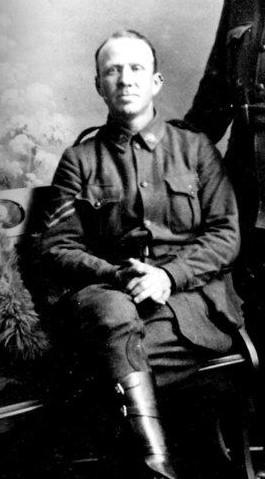
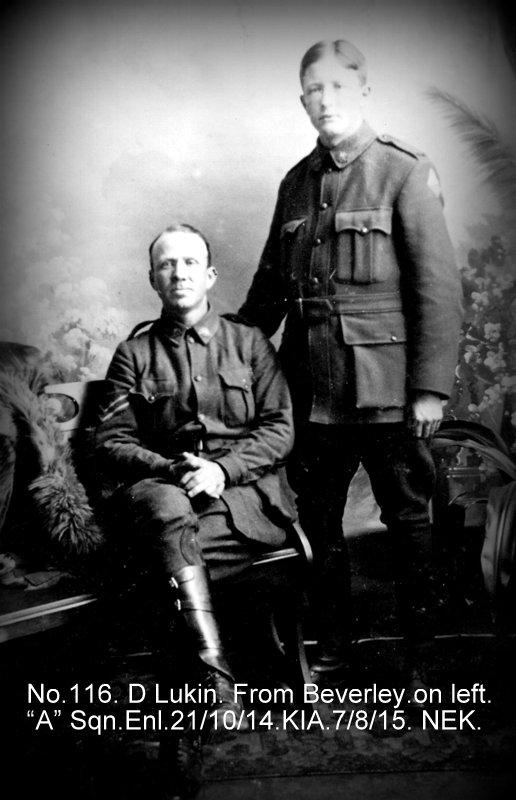
Photograph of 116 Corporal Dudley Lukin from Beverley, killed in action at The Nek, 7 August 1915
10 Light Horse was raised as a squadron, then a regiment in October 1914.and formed part of the 3rd Light Horse Brigade in Egypt. The Regiment served dismounted in Gallipoli and fought at the charge at the Nek on 7 August 1915, and at Hill 60 on 29-30 August. The only Victoria Cross awarded to a Light Horseman recognised the valour of Lieutenant Hugo Throssell at Hill 60.
After Gallipoli the Regiment was bought up to strength to defended Egypt from the Ottoman Army advancing on the Suez Canal. Through 1916 they drove the Turks across the deserts of Sinai, participating in the battles of Romani and Magdhaba.
In 1917 as part of the Desert Column they advanced into Palestine and participated in the bloody battles to break the Gaza-Beersheba line and helped capture Jerusalem. They participated in the Es Salt Raid in May 1918. In August they were equipped with swords and retrained as cavalry. In this role they took part in the rout of the Ottoman army in the Jordan Valley, a campaign the light horse referred to as "The Great Ride". In September the 10th was the first formed regiment to enter Damascus.
Turkey surrendered on 30 October 1918. After the end of the war, the regiment saw action in putting down the Egyptian uprising of 1919. The Regiment was one of the few to return home as a formed unit.
Details
Details
The Nek attack on August 7th at 4:30 am during the Gallipoli Campaign was a tragic military endeavor. The assault began with the 8th Light Horse Regiment forming the first line. However, a misjudgment in the artillery fire cessation, stopping seven minutes early, alerted the well-prepared Turkish forces. Despite a seemingly substantial bombardment, it had minimal impact on the Turkish trenches. When the first line attacked, the Turks were ready and swiftly eliminated them within 30 seconds, leaving only three men from the right of the line reaching the Turkish parapet.
The second line, comprised of the 8th Light Horse Regiment as well, faced a similar fate, being mowed down by Turkish gunfire. The third line, consisting of Western Australians from the 10th Light Horse Regiment, persisted despite attempts by Lieutenant Commander Noel Brazier to cancel the attack. At 4:45 am, the third line went over and faced the same devastating outcome.
Amidst confusion and noise, the fourth line, positioned in the firing trench, received a premature signal to advance, resulting in troops to the right initiating the attack. Major J.B. Scott intervened to stop the rest of the fourth line from charging. The toll was severe, with the 3rd Light Horse Brigade suffering significant losses – 151 men from the 8th Light Horse Regiment and 78 from the 10th Light Horse Regiment were killed at the Nek. An additional 11 and five died within days from their wounds, respectively, and the 9th Light Horse lost four men. In total, of the 600 men across the four lines, 249 perished, and over 100 were wounded, marking a tragic episode in the Gallipoli Campaign.
This photograph is part of the extensive Phil Sullivan 10th Light Horse Collection donated to the Army Museum in November 2023.
Australian Army Museum of Western Australia
Australian Army Museum of Western Australia
Other items from Australian Army Museum of Western Australia
- World War 1, Australia, Western Australia, 114 LEVY, 10 Light Horse
- World War 1, Australia, Western Australia, 113 HARPER, 10 Light Horse
- World War 1, Australia, Western Australia, 112 HASSELL, 10 Light Horse
- Uniform Accoutrements - Sam Browne Belt
- Papercutting, Qur'an 41:34
- Medal - The Afghanistan Medal
- Trophy of Arms - Rising Sun Badge
- World War 1, Australia, Western Australia, 390 DALLING, 10 Light Horse
- World War 1, Australia, Western Australia, 391 DE BAVAY, 10 Light Horse
- World War 1, Australia, Western Australia, 394 DUVAL, 10 Light Horse
- World War 1, Australia, Western Australia, 395 DONOVAN, 10 Light Horse
- World War 1, Australia, Western Australia, 399 FIELDS, 10 Light Horse
