World War 1, Eastern Mediterranean, Egypt, Cheops Pyramid, 11 Battalion, 1915
1915Group photograph of 11 Battalion AIF on Cheops Pyramid, February 1915. The image shows 704 men of the Battalion gathered on the Great Pyramid of Khufu (Cheops) near Mena camp, Egypt, on 10 January 1915.
The 11th Battalion was the first unit recruited in Western Australia for the Australian Imperial Force. Alongside the 9th, 10th, and 12th Battalions, it formed the 3rd Brigade. After only two weeks of initial training, the battalion departed Fremantle on 1 November 1914, arriving in Egypt for further training in early December. The 3rd Brigade led the ANZAC landing on 25 April 1915, being the first ashore around 4:30 am. Ten days post-landing, a company from the 11th Battalion conducted the AIF's first raid on Turkish positions at Gaba Tepe. Throughout the campaign, the battalion was heavily engaged in defending the ANZAC beachhead and participated in preparatory attacks for the battle of Lone Pine in August. They remained active at ANZAC until the evacuation in December.
Post-Gallipoli, the 11th Battalion returned to Egypt, where it was split to help form the 51st Battalion and replenished with reinforcements. In March 1916, the battalion sailed to France, joining the Western Front's trench warfare until 1918. Their first major battle in France was at Pozieres in July. Following this, they held trenches near Ypres and later returned to the Somme for winter.
In 1917, they participated in the advance following the German retreat to the Hindenburg Line. In April, during a German counterattack at Louverval, Lieutenant Charles Pope was killed performing actions that earned him a posthumous Victoria Cross. The battalion later fought in the Third Battle of Ypres.
In March and April 1918, the battalion helped stop the German spring offensive and joined the Allied offensive east of Amiens on 8 August, achieving a significant victory described by German General Erich Ludendorff as "the black day of the German Army." The 11th Battalion continued operations until late September 1918. The armistice on 11 November 1918 ended the fighting, followed by the Versailles peace treaty on 28 June 1919.
Details
Details
This link debunks a number of myths associated with the photograph. https://11btn.wags.org.au/index.php/myths/myths-1-4https://11btn.wags.o…
The Australian Army Museum of Western Australia holds several versions and copies of this image, each with minor variations of cropping or reproduction flaws. Independent academic research is currently being undertaken to attempt to trace the origins of these variations back to their original source.
Australian Army Museum of Western Australia
Australian Army Museum of Western Australia
Other items from Australian Army Museum of Western Australia
-
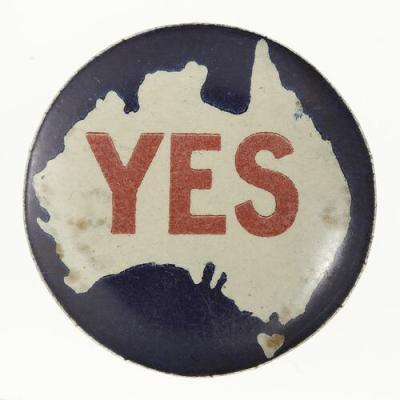
World War 1, Australia, Home Front, Conscription Referenda, "Yes" Button
-
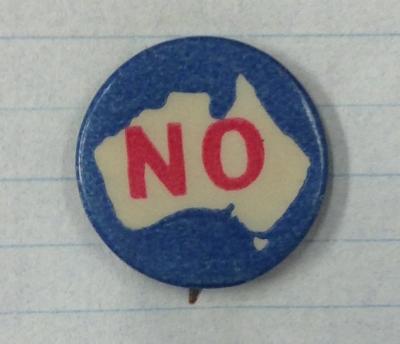
World War 1, Australia, Home Front, Conscription Referenda, "No" Button
-
World War 1, Eastern Mediterranean, Egypt, Cheops Pyramid, 12 Battalion

-
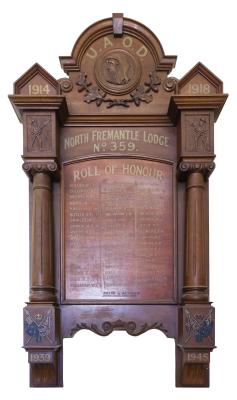
Honour Board - United and Ancient Order of Druids, Lodge 359
-
World War 1, Honour Board, Municipality of North Fremantle.

-
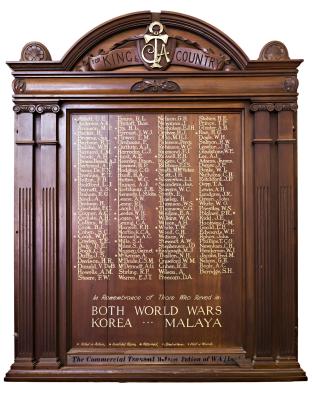
Post 1945, Western Australia, Honour Board, Commercial Traveller's Association
-
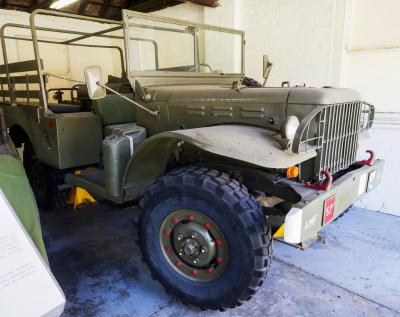
World War 2, Western Australia, Dodge 3/4 Ton WC Series
-
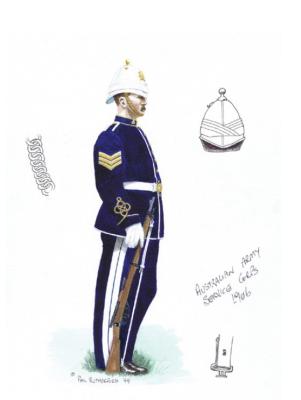
Pre 1914, Western Australia, Army Service Corps, 1906
-
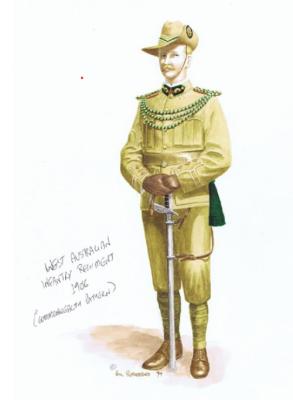
Pre 1914, Western Australia, Perth, West Australian Infantry Regiment, 1906
-
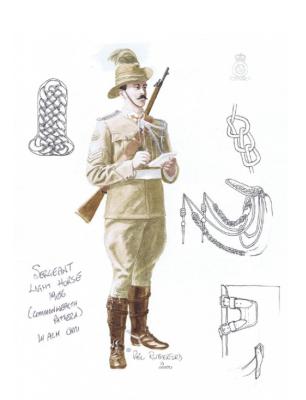
Pre 1914, Western Australia, Light Horse, 1906
-
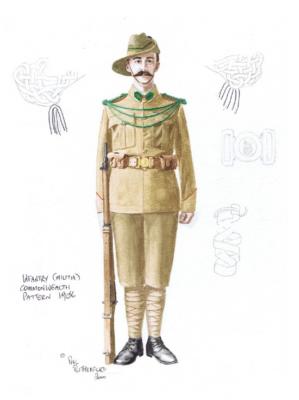
Pre 1914, Western Australia, Militia Infantry, 1906
-
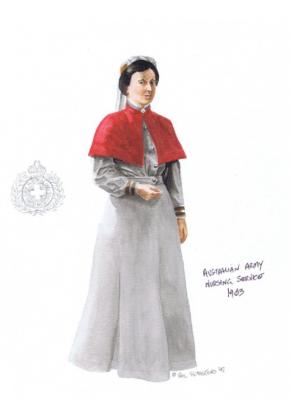
Pre 1914, Australia, Australian Army Nursing Service, 1904